

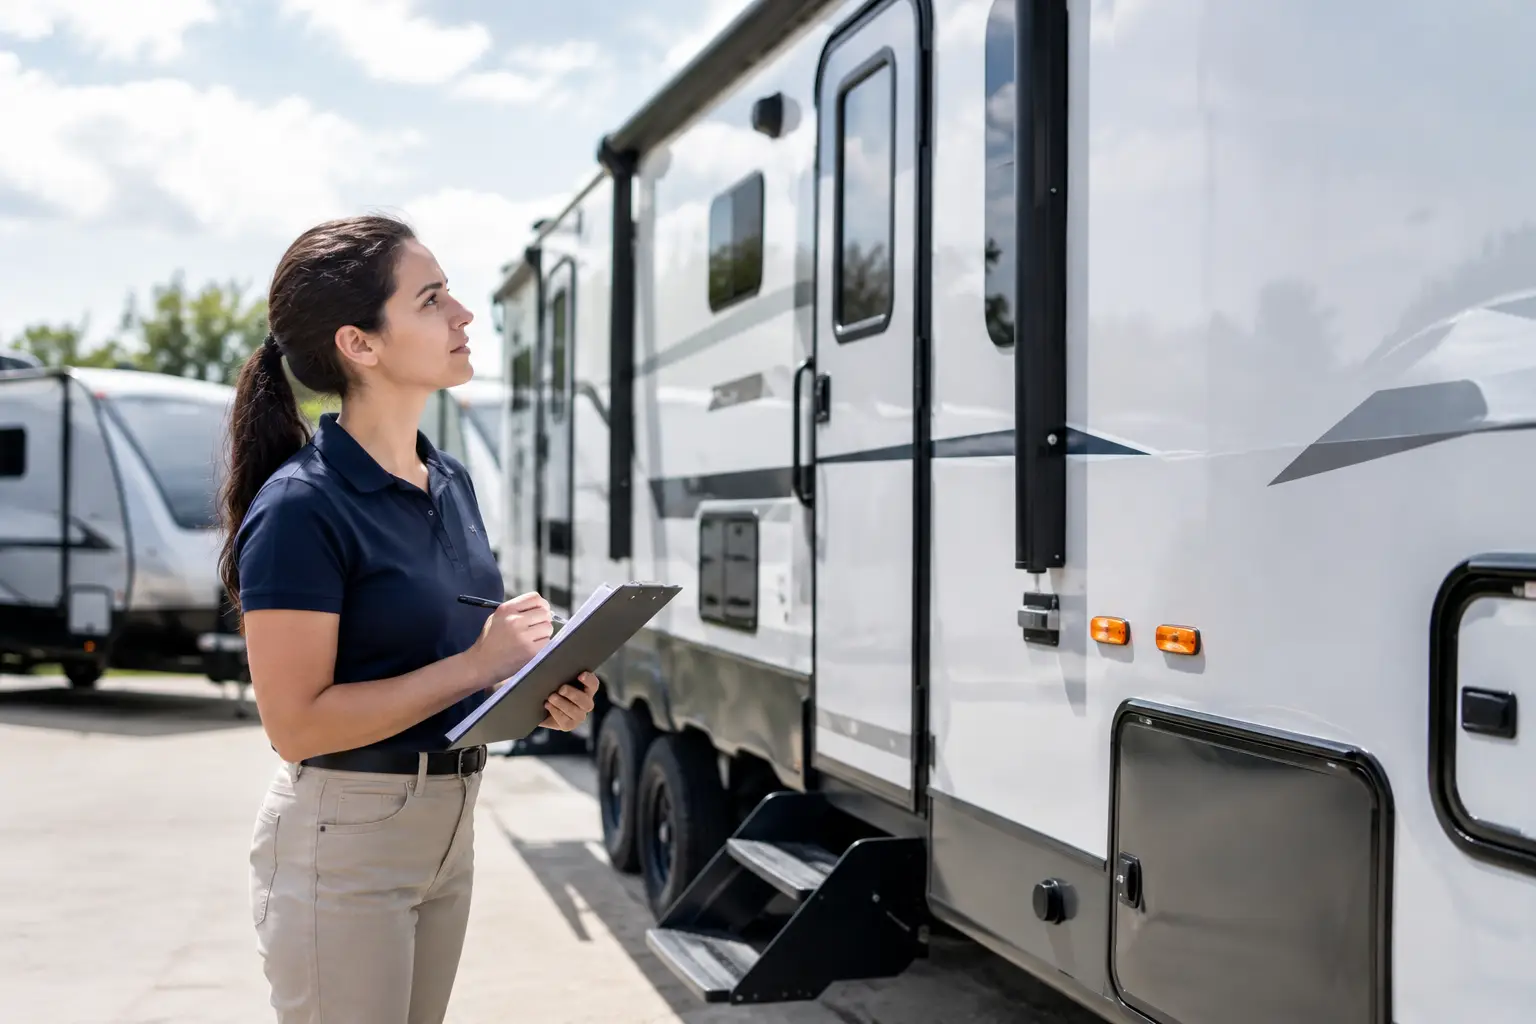
An RV delivery is not fully finished when the trailer reaches the driveway, campground, storage site, or service center. RV arrival inspections are the point where you confirm the unit is in the condition you expect, identify anything that needs attention, and make sure it is safe to occupy or store.
For travel trailers and fifth wheels, a careful arrival check protects a major investment. It also prevents a small issue, such as a loose compartment latch or a shifted interior item, from becoming a much larger repair after the unit has been parked and forgotten for a few weeks.
Start the Inspection Before the Hauler Leaves
The best time to inspect an arriving RV is while the person delivering it is still on site. You do not need to hold up the handoff over minor cosmetic details, but you do want to look for obvious damage, take photos, and confirm that the RV has been placed where you need it.
Walk around the unit slowly before opening slide-outs or connecting utilities. Use your phone to photograph all four sides, the front cap, rear wall, roofline you can safely see from the ground, entry door, storage doors, windows, wheels, and hitch area. Take close-up photos of any existing scrapes, chips, dents, or cracked trim. Good photos create a clear record of the RV’s condition on arrival.
This is particularly useful after a longer move through British Columbia or Alberta, where highway miles, weather changes, gravel access roads, and ferry loading can all add variables. Professional transport reduces the burden of moving the RV yourself, but an arrival inspection is still smart ownership.
Confirm Placement and Access
Before the RV is unhitched, make sure its final position works for your plans. Check that the entry steps can extend safely, slide-outs have adequate clearance, and storage compartments can open. At a seasonal site, look overhead for branches and utility lines. At home or in storage, confirm the RV is not blocking gates, drainage routes, or access for other equipment.
If the unit is being delivered to a service center, placement may be directed by staff. If it is arriving at a private property or campground, the owner should decide where it sits before the driver disconnects. Moving a large trailer again because a slide-out is blocked or the door faces the wrong direction wastes time and may require another transport arrangement.
Check the Exterior From Top to Bottom
Once placement is confirmed, inspect the exterior methodically. Start at the hitch or pin box and work your way around the RV in one direction. A consistent approach makes it less likely that you will miss an area.
Look closely at the front cap, lower skirting, fenders, sidewalls, corner trim, awnings, light lenses, ladder, bumper, and roof-edge seals. You are looking for fresh impact marks, loose trim, cracked plastic, torn awning fabric, or any compartment door that does not latch correctly. Open and close each exterior storage door rather than only looking at it.
Pay extra attention to the hitch area. For a travel trailer, inspect the coupler, safety-chain attachment points, breakaway cable, jack, propane tray, and wiring connection. For a fifth wheel, look at the pin box, kingpin, landing gear, front storage compartment, and nearby trim. These components handle real load and movement during transport, so they deserve more than a quick glance.
Tires, Wheels, and Stabilization
Inspect every tire sidewall for cuts, bulges, or visible damage. Look at the wheel faces and lug nuts, then check that valve caps are in place. A tire can lose pressure slowly without looking flat, so use a gauge before your next trip rather than relying only on appearance.
Once the unit is parked, make sure it is level enough for the refrigerator and comfortable use. Set wheel chocks before unhitching where appropriate, then use the RV’s stabilizers only after the wheels are secured. Stabilizers are not designed to lift or level the entire trailer unless the unit’s system is specifically built for that purpose.
Inspect the Interior Before Unloading or Setting Up
Road movement can shift items even when cabinets and drawers were secured. Open the door carefully and look for loose objects before turning on lights or extending slides. Check floors for spilled liquids, especially near the kitchen, bathroom, and refrigerator.
Then open cabinets, drawers, the pantry, and wardrobe doors one at a time. Look for broken latches, loose hinges, and items that have shifted against doors. Inspect the ceiling around vents, skylights, and air-conditioning units for signs of moisture. A fresh water mark does not automatically mean transport caused it, but it should be documented and investigated.
Check windows, blinds, and interior doors. Make sure the bathroom door, pocket doors, and bedroom doors travel as they should. If your RV has a slide-out, inspect the interior floor and exterior seals before operating it. Clear any loose items from the slide path, verify adequate outside clearance, and extend it according to the manufacturer’s procedure.
Test the Systems That Matter First
You do not need to complete a full campground setup during the handoff, but basic system checks are worth doing soon after arrival. If the RV is going into storage, these checks can be completed once it is safely parked and connected to the appropriate power source.
Prioritize the systems most likely to affect safety, security, and immediate use:
- Test exterior and interior lights, including brake and turn signals if a tow vehicle connection is available.
- Confirm the battery disconnect, power jack, landing gear, and stabilizers operate normally.
- Check propane cylinders are secure and inspect for any noticeable gas odor before using appliances.
- Turn on the water pump briefly and look under sinks, near the toilet, and around the water heater for leaks.
- Verify the refrigerator, furnace, air conditioner, and slide-out function only when the proper power source and operating conditions are available.
Some issues are not transport issues at all. A low battery, empty propane cylinder, winterized plumbing system, or appliance that needs shore power can make a system appear faulty. That is why it helps to know the RV’s condition before transport and to keep records of recent service work.
Do Not Ignore Warning Signs
Stop using the affected system if you smell propane, see active water leaking, notice damaged electrical wiring, or find a tire with obvious damage. Photograph the issue and contact the appropriate RV service professional. Trying to force a slide-out, run a damaged appliance, or tow the RV again before a safety concern is addressed can make the problem worse.
For a newly purchased RV, compare your inspection against the dealer’s delivery paperwork and any pre-delivery inspection notes. For a unit coming home from service, verify that the requested work was completed and that any removed accessories or keys were returned.
Keep a Simple Arrival Record
A detailed report does not need to be complicated. Save your photos in one folder labeled with the arrival date and location. Add a short note listing the odometer or mileage information provided for the transport, the condition of the exterior, any concerns found, and the status of major systems.
If you spot a problem, report it promptly and factually. Include photos, the exact location of the issue, and when you found it. Avoid assuming the cause before the facts are clear. A professional hauler, dealer, campground, or service center can respond much more effectively when the concern is documented clearly.
GoMax RV recommends owners be available at delivery whenever possible, or designate someone who knows the site and can complete the initial walk-around. That helps ensure the RV is positioned properly and any immediate questions are handled before the handoff is complete.
A Good Arrival Check Makes the Next Trip Easier
Arrival day is busy, especially when the RV is headed to a new seasonal site, returning from repairs, or showing up after a long-distance move. Still, taking 20 to 30 minutes to inspect it carefully is time well spent. You will know the unit is secure, systems are ready for the next step, and any concerns are documented while the details are still fresh.
Treat RV arrival inspections as part of every delivery, not an extra task to get to later. A calm, methodical check gives you a better starting point for setup, storage, or your next weekend away.
Comments are closed