

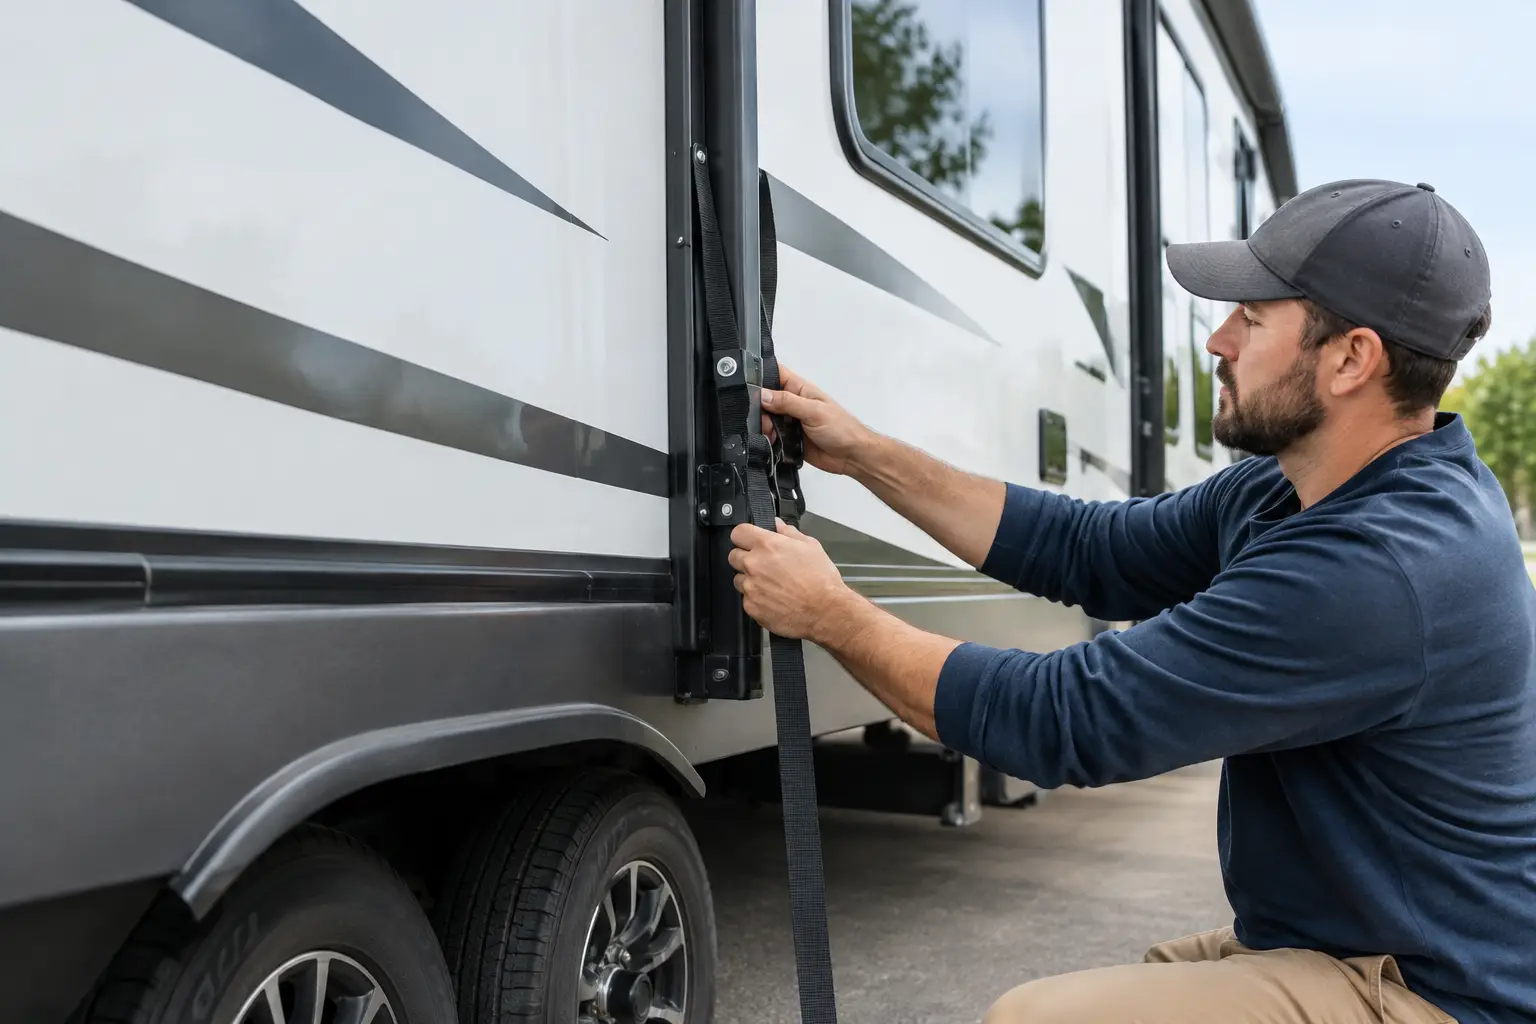
A slideout that looks fully retracted can still be a problem on the road. A loose travel lock, an obstructed seal, or a slide that did not seat evenly can lead to rubbing, water intrusion, or damage before the RV reaches its destination. To secure RV slideouts for transport, the job starts before hitching up, with a careful check of the slide mechanism, its travel position, and the manufacturer’s instructions.
For owners arranging professional transport, this is one of the most useful parts of getting an RV ready for pickup. A travel trailer or fifth wheel may spend hours on highways, uneven access roads, ferry ramps, and fuel stops. Slideouts need to stay where they belong through all of it.
Why Secure RV Slideouts for Transport Before Departure
Slide rooms are designed to extend and retract, but they are not all held closed the same way. Some RVs use electric rack-and-pinion systems, cable systems, hydraulic mechanisms, or Schwintek-style tracks. Certain models have built-in travel locks, while others rely on the mechanism itself to hold the room in place. The correct preparation depends on the RV, not on a one-size-fits-all trick.
When a slide is not fully drawn in, the seals may not compress correctly. That leaves room for movement and can expose the edge of the slide to road spray and debris. A room that creeps outward even slightly can damage trim, interfere with an awning, or create a serious clearance issue.
The risk is higher when the route includes rough pavement, sharp turns, steep grades, or a long day of hauling. That does not mean every trip will cause a problem. It means the slideout should be treated as a critical pre-trip item, just like tires, hitch equipment, lights, and breakaway equipment.
Start With the Manufacturer’s Travel Instructions
The owner’s manual is the authority on whether your slideout requires locks, how those locks are installed, and whether any battery or control-panel steps are recommended for travel. This matters because using the wrong restraint can create more trouble than it prevents.
Do not assume that a bar, strap, or aftermarket lock is safe for your RV simply because another owner uses one. Pressure in the wrong location can bend an interior wall, damage cabinet faces, mark trim, or interfere with the slide seals. External straps are generally not a substitute for a properly retracted and manufacturer-secured slide room.
If the manual calls for travel locks, use them exactly as directed. Make sure they are properly engaged and that every lock is removed before extending the slide at the destination. A missed lock is an easy way to damage a slide mechanism when someone presses the extend button.
If you do not have the manual, locate the RV make, model, and year before transport is scheduled. Your dealership, service shop, or manufacturer may be able to confirm the correct procedure. This is worth sorting out before pickup day, not while the RV is waiting at a storage yard or campsite.
Retract the Slide Completely and Check Both Sides
Run each slide all the way in with the RV as level as practical. Watch and listen while it moves. A slide that hesitates, binds, makes sharp popping sounds, or stops unevenly needs attention before it travels. Forcing it closed may hide a mechanical issue rather than solve one.
Once retracted, inspect the slide from the inside and outside. Inside, look for a consistent fit along the wall and floor. Cabinet doors, loose cushions, rugs, and stored items can prevent a slide from closing fully. Outside, check that the seals are seated evenly and that no branches, gravel, loose trim, or stored gear are trapped along the edges.
Pay close attention to the top of the slide. Leaves and small debris can collect under slide toppers and near roof seals. You do not need to take apart the topper system for a normal transport check, but obvious debris should be removed. Anything caught in the seal can affect how the slide sits and may scratch surfaces as the RV moves.
A fully retracted slide should look square and consistent. If one corner is visibly farther out than the others, stop and have the issue assessed. Transport is not the time to hope the road will pull it into position.
Secure the Interior Before Operating the Slide
The slide can only close as well as the space around it allows. Clear the floor path and secure items that may shift during retraction. Folding chairs, pet gates, loose shoes, storage bins, and area rugs are common culprits. So are cabinet doors that swing open into the slide path.
After the room is in, latch interior doors and secure drawers near the slide. Road vibration can move contents around, and a heavy drawer opening against a slide wall can cause damage. Keep the weight of stored items reasonable, particularly in overhead cabinets.
Know When a Slide Problem Needs Service First
Some slideout issues are not preparation issues. They are service issues. If the slide will not retract fully, a lock will not engage, a seal is torn, or the mechanism is making unusual noises, arrange an inspection before the RV is moved whenever possible.
Hydraulic slides can have leaks or pressure-related problems. Electric slides can suffer from low battery voltage, worn gears, damaged wiring, or controller faults. Cable-driven systems can become misaligned. The exact cause varies, but the rule is straightforward: do not depend on a questionable slide system to stay closed through a transport run.
There are cases where a service center can advise on a temporary procedure to move an RV safely. That direction should come from a qualified RV technician or the manufacturer and should be specific to the RV. It should not be improvised at the pickup location.
A Practical Slideout Checklist for Pickup Day
Before your transport provider arrives, complete this short check:
- Retract every slide fully and confirm it sits evenly against the RV body.
- Remove objects from slide paths, then latch nearby cabinets, drawers, and interior doors.
- Inspect exterior seals, trim, slide toppers, and roof edges for trapped debris or visible damage.
- Engage only the travel locks or restraints approved for your specific RV.
- Confirm the slide controls are not likely to be bumped or activated accidentally during loading and unloading.
Take a few clear photos of each closed slide before departure. This is useful for your own records and helps document the condition of the RV at handoff. Include close-ups if there is existing cosmetic wear near a slide corner or trim piece.
Coordinate Slideout Details With Your Transport Provider
A professional hauler needs accurate information before pickup. Let them know how many slides the RV has, whether any travel locks are installed, and whether there are known concerns with the system. Mention if the RV has recently been serviced, if it has been sitting for a long time, or if the pickup location makes it difficult to operate the slides before departure.
This communication is especially useful for dealership pickups, service-center transfers, and seasonal relocations. At a busy dealership or storage compound, access may be tight and the RV may be parked close to other units. Knowing the slide status ahead of time helps avoid delays and keeps the handoff organized.
For longer routes in British Columbia or Alberta, road conditions and weather can change quickly. A properly prepared slideout is one less variable to manage when the RV is moving through mountain corridors, city traffic, or ferry terminals. GoMax RV can coordinate the transport side of the job, but the owner should ensure the RV is ready to travel before scheduled pickup.
Do Not Forget the Destination Check
When the RV arrives, inspect the slideouts before extending them. Look at the exterior corners, seals, trim, and locks first. Remove any manufacturer-required travel locks, then extend one slide at a time while listening for unusual sounds.
If you find a concern, stop before operating the slide further. Taking a moment to identify the issue can prevent a small alignment or seal problem from becoming a larger repair.
A secure slideout is not about adding more straps or guessing at a workaround. It is about using the correct procedure for your RV, checking that every room is fully seated, and addressing mechanical concerns before the road puts them to the test. If you are scheduling RV transport, have those details ready when you request your quote so pickup can be handled cleanly and with fewer surprises.
Comments are closed