

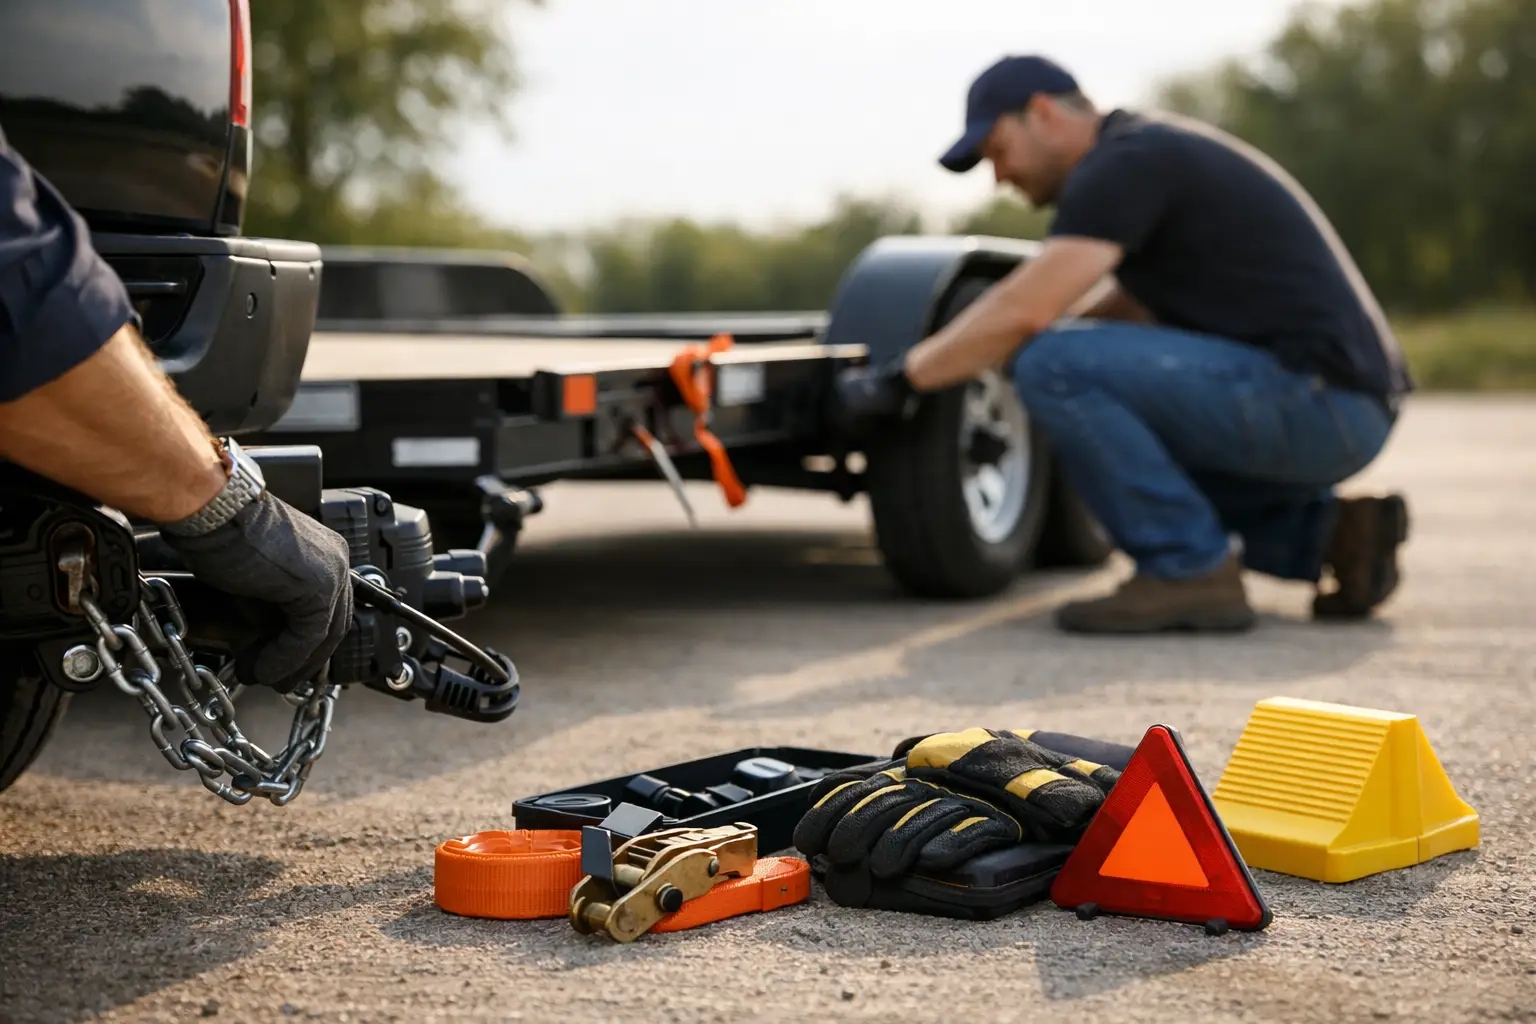
A trailer can look ready to move right up until a loose battery box, flat tire, or forgotten leveling block turns pickup into a delay. Knowing how to prepare a trailer for hauling means handling the practical details before the transport driver arrives, not while everyone is waiting at the gate, dealership, ferry terminal, or campground.
For travel trailer and fifth wheel owners, preparation protects the unit, keeps the schedule on track, and gives the driver a clear, safe setup to work with. Whether the trailer is headed from a dealership to your home, a service center to a seasonal site, or across provincial lines, the same basics apply.
Start With Access and a Clear Pickup Area
Before focusing on the trailer itself, make sure a properly equipped truck can get to it and leave with it. A large RV needs room to turn, line up, and pull forward without being boxed in by parked vehicles, trees, posts, low branches, or tight gates.
Move personal vehicles out of the driveway and clear away items stored around the trailer. If the unit is in a storage compound or gated community, confirm access hours, gate codes, site rules, and whether the driver needs to check in with an office. These small details matter, especially when a pickup is scheduled around a ferry crossing, service appointment, or long-distance route.
At a campground or seasonal site, take down anything that narrows the exit path. That may include patio furniture, portable fences, firewood racks, hoses, outdoor rugs, and temporary steps. The goal is simple: the trailer should be ready to hook up and roll without a last-minute obstacle.
Empty and Secure the Exterior
Walk around the entire trailer before hauling day. Look under it as well as around it. Anything loose, hanging, or extending beyond the body of the RV needs attention.
Disconnect the water hose, sewer hose, electrical cord, satellite equipment, and any other campsite connections. Drain hoses should be rinsed, stored, and secured. Remove wheel chocks only when the driver is ready to connect and the trailer is under control.
Retract all slide-outs, awnings, stabilizer jacks, entry steps, and leveling systems. Confirm that every storage compartment door is fully latched and locked. Exterior hatches that look closed but are not properly secured can open on the road and suffer expensive damage.
If you have bicycles, cargo carriers, loose propane covers, portable generators, or other accessories mounted outside, assess whether they are securely fastened and appropriate for transport. A professional hauler can advise on anything that appears questionable, but it is better to raise the issue before pickup rather than after the trailer is already connected.
Check Height-Critical Equipment
Roof-mounted air conditioners, vents, antennas, and solar equipment are exposed throughout the trip. Close roof vents completely and lower or remove any antenna that is not designed to travel in an upright position. A vent left open can be damaged by wind or low clearance, and it can allow water inside if weather changes along the route.
Also confirm the trailer’s stated overall height if you have it. Height is a planning factor for route selection, particularly on routes involving trees, covered storage areas, older fuel stations, or ferry terminals.
Prepare the Interior for Road Movement
The inside of an RV takes more punishment from road vibration than many owners expect. Cabinets, appliances, dishes, furniture, and doors can shift over hundreds of miles, even when the road looks smooth from the cab.
Start by closing and latching every cabinet, drawer, closet, and interior door. Secure the refrigerator doors with their travel lock or a suitable strap. Remove heavy glass items from countertops and store them low, padded, and away from cabinet doors. If you keep dishes in the RV, make sure they cannot slide or rattle against one another.
Place loose items on the floor or in secured storage rather than leaving them on beds, tables, or counters. Fold down the dinette if it tends to move, secure freestanding chairs, and make sure televisions are locked into their travel positions. Close shower doors and secure any glass panels according to the manufacturer’s instructions.
Weight distribution matters, too. Avoid loading a large amount of gear at the very rear of a travel trailer. Excess rear weight can affect how the unit handles behind the truck. Keep heavy items low and reasonably balanced from side to side. If the trailer is packed for a long stay, tell the hauler if there is unusually heavy cargo, water tanks, or equipment onboard.
Inspect Tires, Wheels, and Brakes
Tires are one of the most common causes of a transport delay. Check all trailer tires, including the spare, for visible cracks, bulges, punctures, uneven wear, or exposed cords. Tires can age out before the tread looks worn, especially on units that sit for long periods in storage or at seasonal sites.
Inflate tires to the pressure listed on the trailer’s tire placard or as specified for the tire and axle setup. Do not use the pressure printed on a passenger vehicle door label as a reference. If a tire is losing air, damaged, or visibly weather-checked, arrange for repair or replacement before hauling.
Check that wheel lug nuts are present and that wheel bearings and brakes have been maintained according to the trailer manufacturer’s schedule. You do not need to perform a full brake inspection at pickup, but any known issue should be disclosed. A working breakaway system, including a charged battery where required, is also part of a safe trailer setup.
Make the Hitch Area Ready
The hitch area is where preparation becomes specific to the type of RV you own. For a travel trailer, clear the coupler, safety chain area, tongue jack, and electrical connection. Make sure the tongue jack works and that there is enough clearance for the tow vehicle to position under the coupler.
For a fifth wheel, clear the pin box area and confirm the landing gear operates properly. Remove any equipment stored in the truck bed area if you are providing the pickup vehicle, or make sure nothing around the trailer blocks access to the pin box. Fifth wheel landing gear should be able to raise and lower the front of the unit without binding.
Keep keys, remote controls, and hitch-related components together. If there is a special procedure for retracting jacks, operating a hydraulic system, or releasing a hitch lock, write it down or be available to explain it. A few clear instructions can prevent unnecessary troubleshooting.
Bring the Right Documents and Keys
Have the trailer registration and any required ownership or authorization documents available before the scheduled pickup. The transport provider may need basic unit details such as the year, make, model, VIN, length, and approximate weight to confirm the right equipment and plan the route.
Provide every key needed to access and move the trailer. That can include the entry door key, storage compartment keys, hitch lock key, battery disconnect key, and keys or remotes for power jacks. If the RV is at a dealership, storage facility, or service center, confirm who is authorized to release it.
For a cross-border move or a route involving ferry travel, documentation and timing require additional planning. In British Columbia, Vancouver Island moves may also need ferry reservations coordinated around the trailer’s length and height. Share destination details early, including site number, access restrictions, and contact information for the receiving location.
Communicate Known Issues Before Pickup
Do not assume a minor issue is irrelevant. Let the hauler know in advance if the trailer has weak tires, a low battery, damaged stabilizer jack, non-functioning brake light, unusual hitch setup, restricted access road, or low tree branches near the exit.
The same applies to destination conditions. A steep gravel driveway, muddy seasonal lot, narrow lane, or construction zone may affect how and where the trailer can be placed. Good transport is not just about the road between two points. It is about safely getting the RV out of its current location and into the next one.
A professional transport company such as GoMax RV can plan around those realities, but only when the information is shared early. Photos of the pickup area, trailer hitch, and destination entrance can be useful when access looks tight.
Final Check Before the Driver Arrives
On hauling day, do one final walk-around. Confirm that slide-outs are in, steps are up, awnings are locked, compartments are shut, and nothing is left connected to the site. Check for loose belongings around the trailer and make sure the path out is clear.
If possible, be present for pickup or arrange for a reliable contact who can provide keys, answer questions, and confirm the unit’s condition. Take a few current photos of the trailer before it leaves, including the exterior, tires, and any existing cosmetic marks. This is a sensible record for any valuable RV.
A properly prepared trailer gives the transport crew the best possible start and helps keep your move efficient from pickup through delivery. Handle the details early, communicate anything unusual, and you can hand off the hauling work with far less stress.
Comments are closed